引言
前边两篇博客介绍了Web API的基本框架以及路由配置,这篇博客主要解决在前后端分离项目中,为前端人员提供详细接口说明的问题,主要是通过修改WebApi HelpPage相关代码和添加WebApiTestClient组件实现WebAPI接口详细说明以及接口测试。
WepAPI系列博客
在Entities中添加Student类,并在Controllers中添加StudentController(Web API控制器类(V2.1)),修改相应代码(具体参照
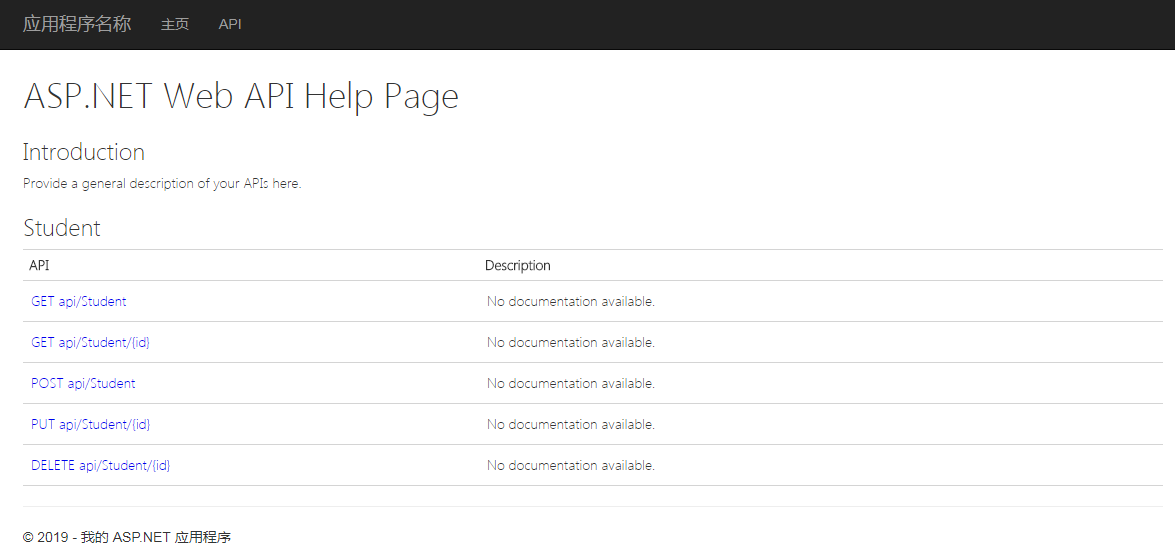
运行程序,点击页面中API菜单(http://localhost:56783/Help),可以看到API接口,如下图所示:
点击上边列表中的接口,可以查看调用说明,如下图所示:

这时发现所有的说明信息都为空(Description),接下来添加描述信息。
HelpPage显示description
Student.cs中的相应字段和StudentController.cs中的接口添加描述信息,如下图所示:


分别勾选WebAPITest.Entities和WebAPITest.Web项目【属性-生成-输出-XML文档文件】,如下图所示:

修改Areas/HelpPage/App_Start/HelpPageConfig.cs
修改 public static void Register(HttpConfiguration config):
config.SetDocumentationProvider(new XmlDocumentationProvider(HttpContext.Current.Server.MapPath("~/bin")));
输出目录都设置到Web的bin下,具体截图如下:

修改Areas/HelpPage/XmlDocumentationProvider.cs
添加私有变量:
private List<XPathNavigator> _documentNavigators;修改构造函数 public XmlDocumentationProvider(string documentPath)(其中的files种的XML名字必须和生成的对应):

public XmlDocumentationProvider(string documentPath) { if (documentPath == null) { throw new ArgumentNullException("documentPath"); } //XPathDocument xpath = new XPathDocument(documentPath); //_documentNavigator = xpath.CreateNavigator(); _documentNavigators = new List<XPathNavigator>(); var files = new[] { "WebAPITest.Web.xml", "WebAPITest.Entities.xml" }; foreach (var file in files) { var path = Path.Combine(documentPath, file); if (File.Exists(path)) { XPathDocument xpath = new XPathDocument(path); _documentNavigators.Add(xpath.CreateNavigator()); } } }
添加私有方法:
private XPathNavigator SelectSingleNode(string selectExpression) {
